Assignment

The application combines the Assignment and Unassignment of Assets with BLE tags.

This allows the user to connect those objects directly into the server and configure the devices in the way that the use case is defined.

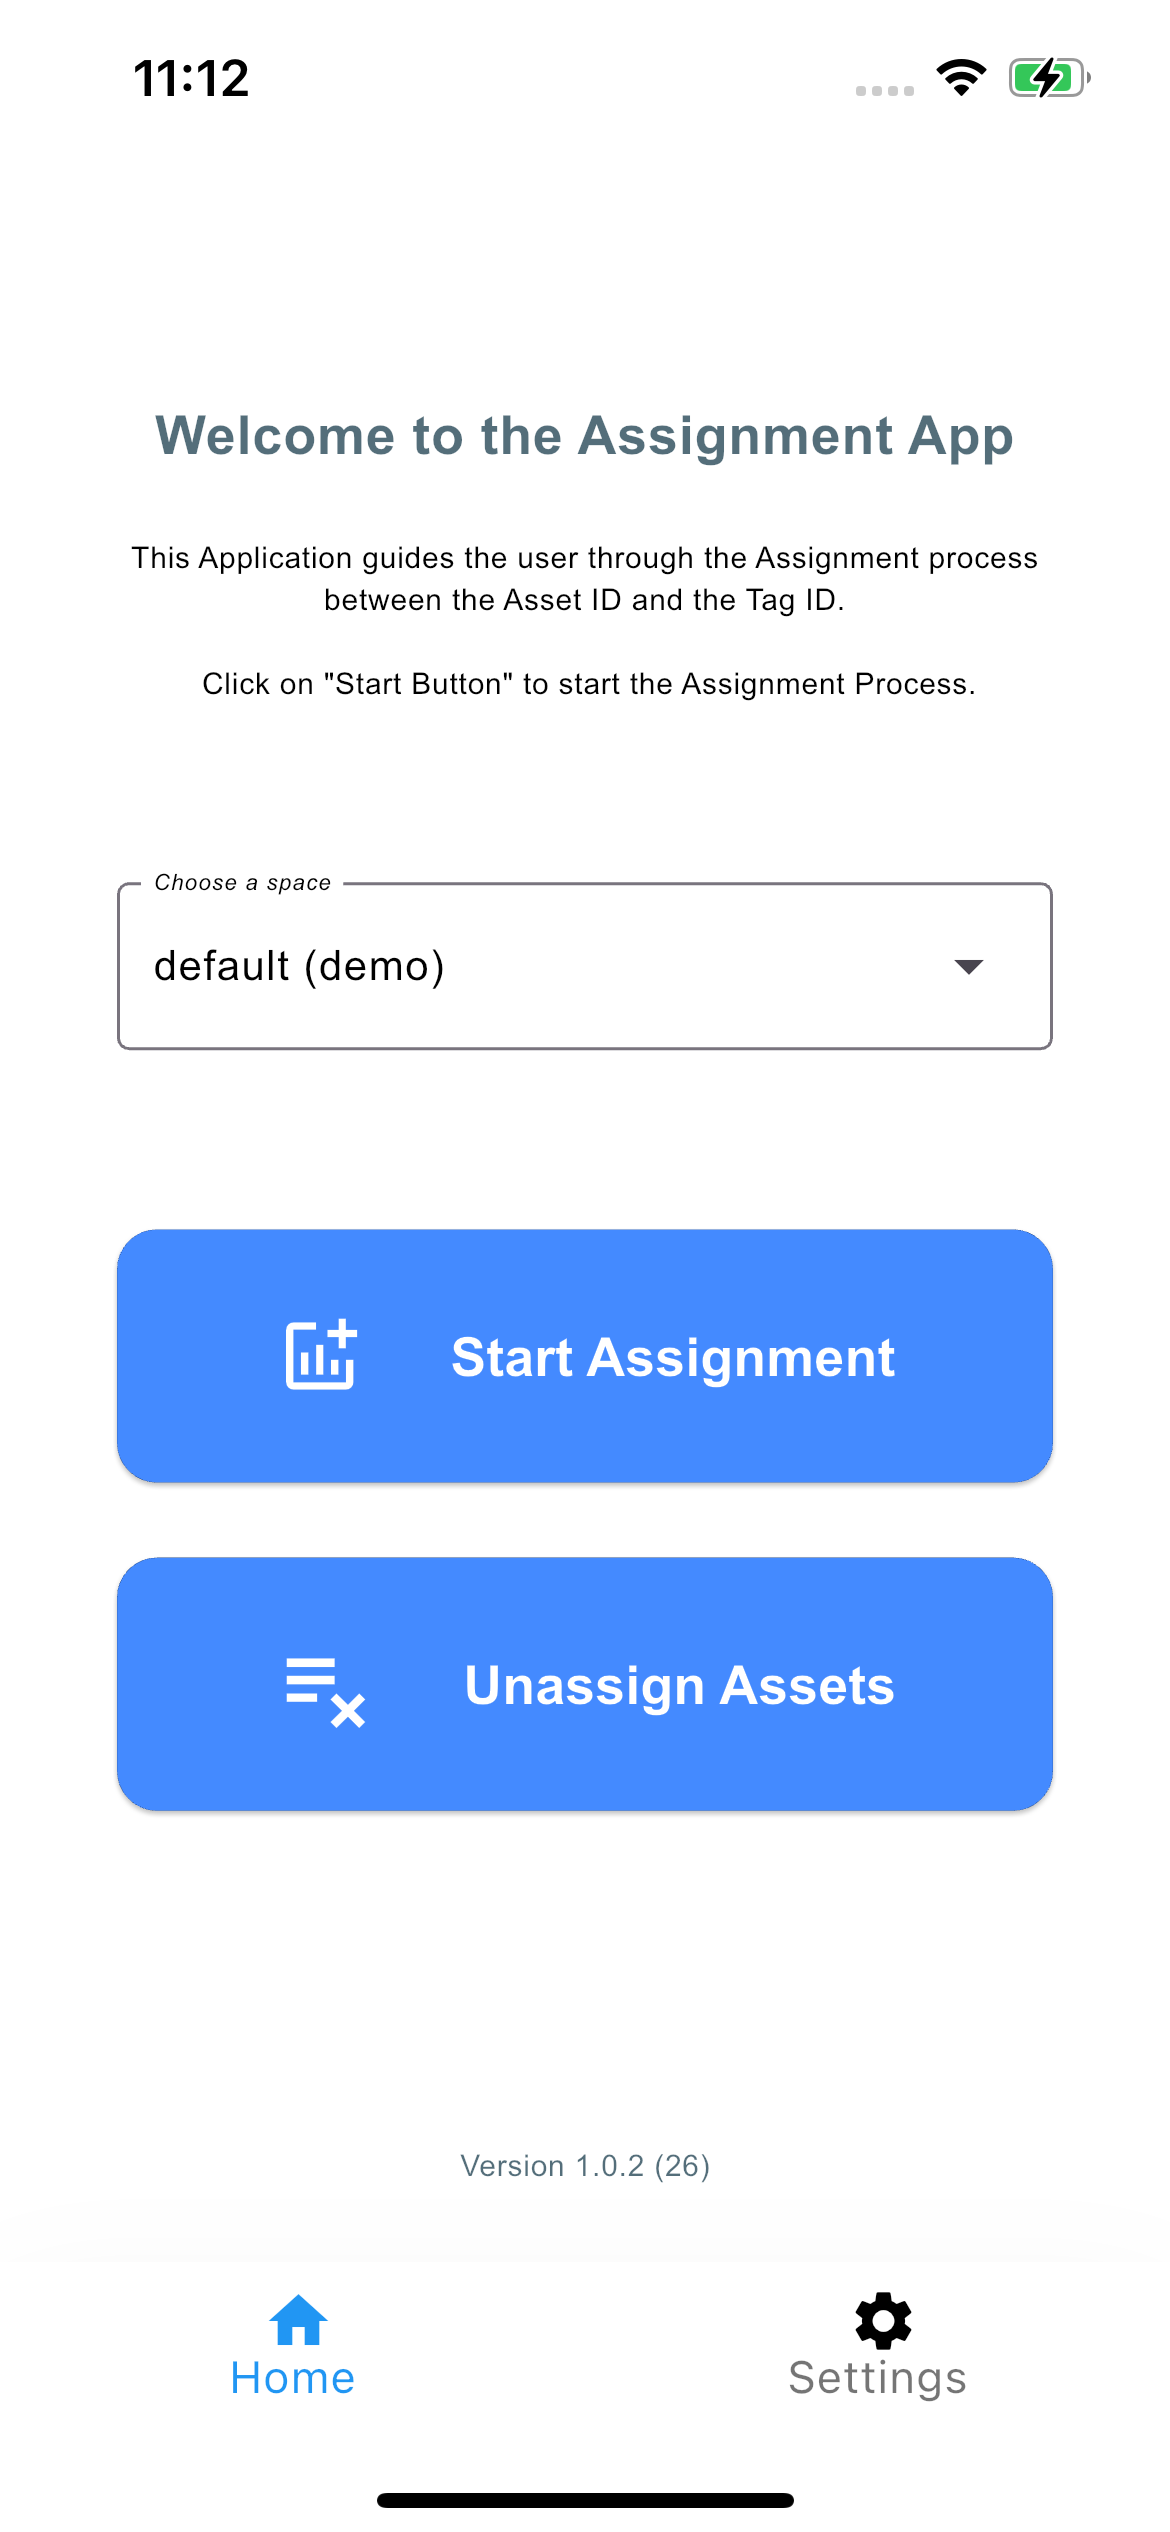
  1. After successfully login, the first thing is to choose the space the assignment should be executed.
    Diagramm

  2. If the right space was chosen, press Start Assignment.

    A request to the server will be done and respond with a list of asset types.

  3. When this screen appears the first time, the application will ask for the camera permission.
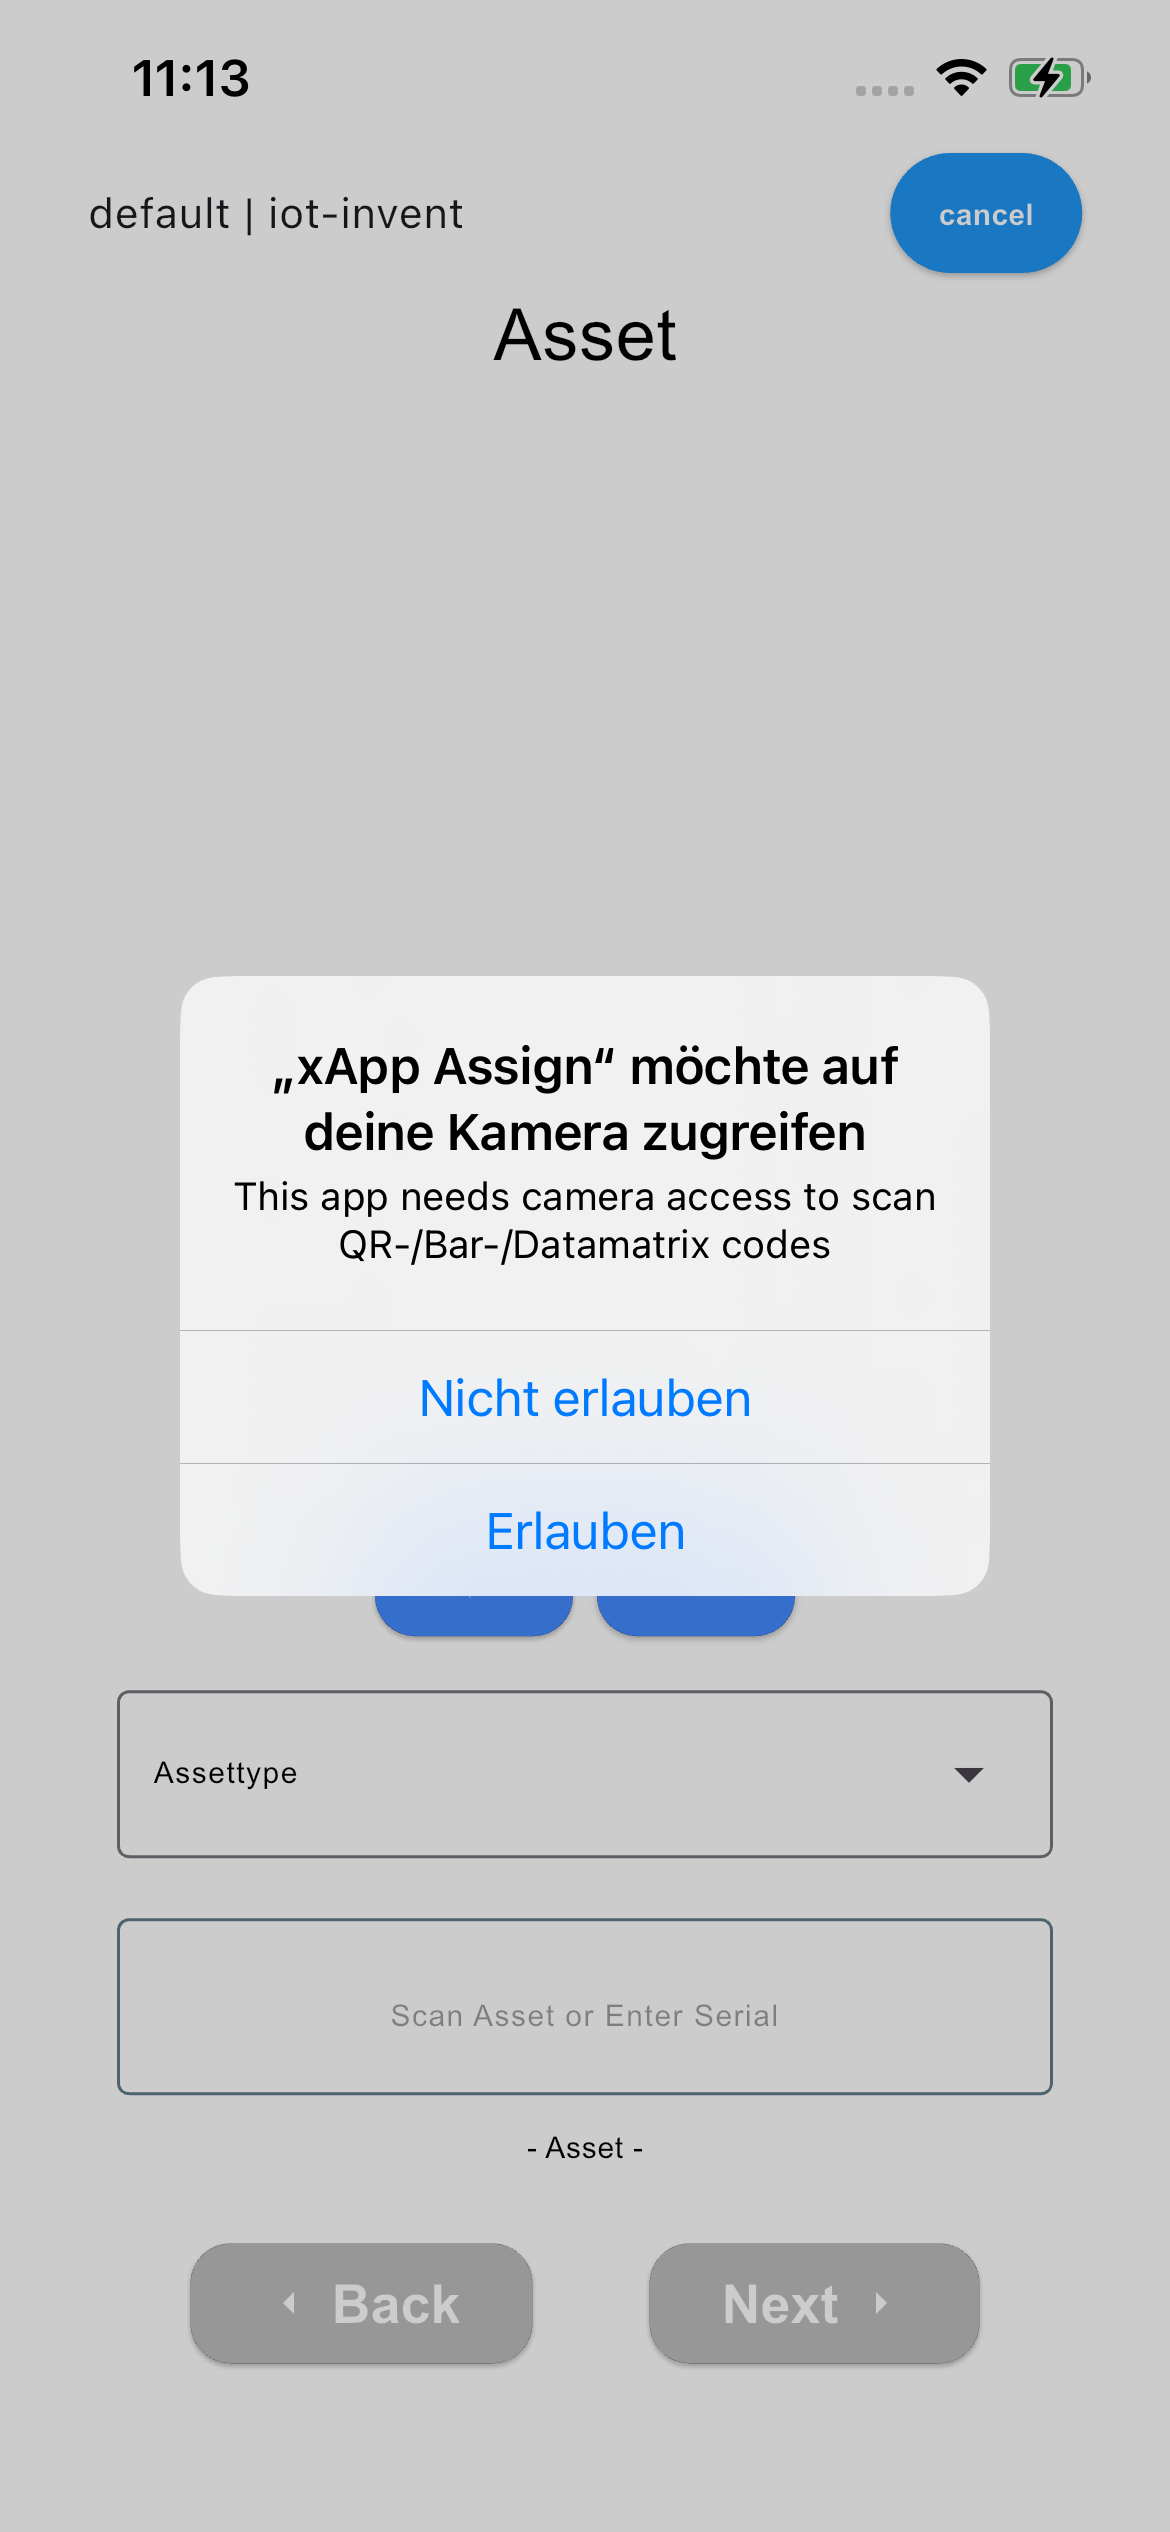
    Diagramm

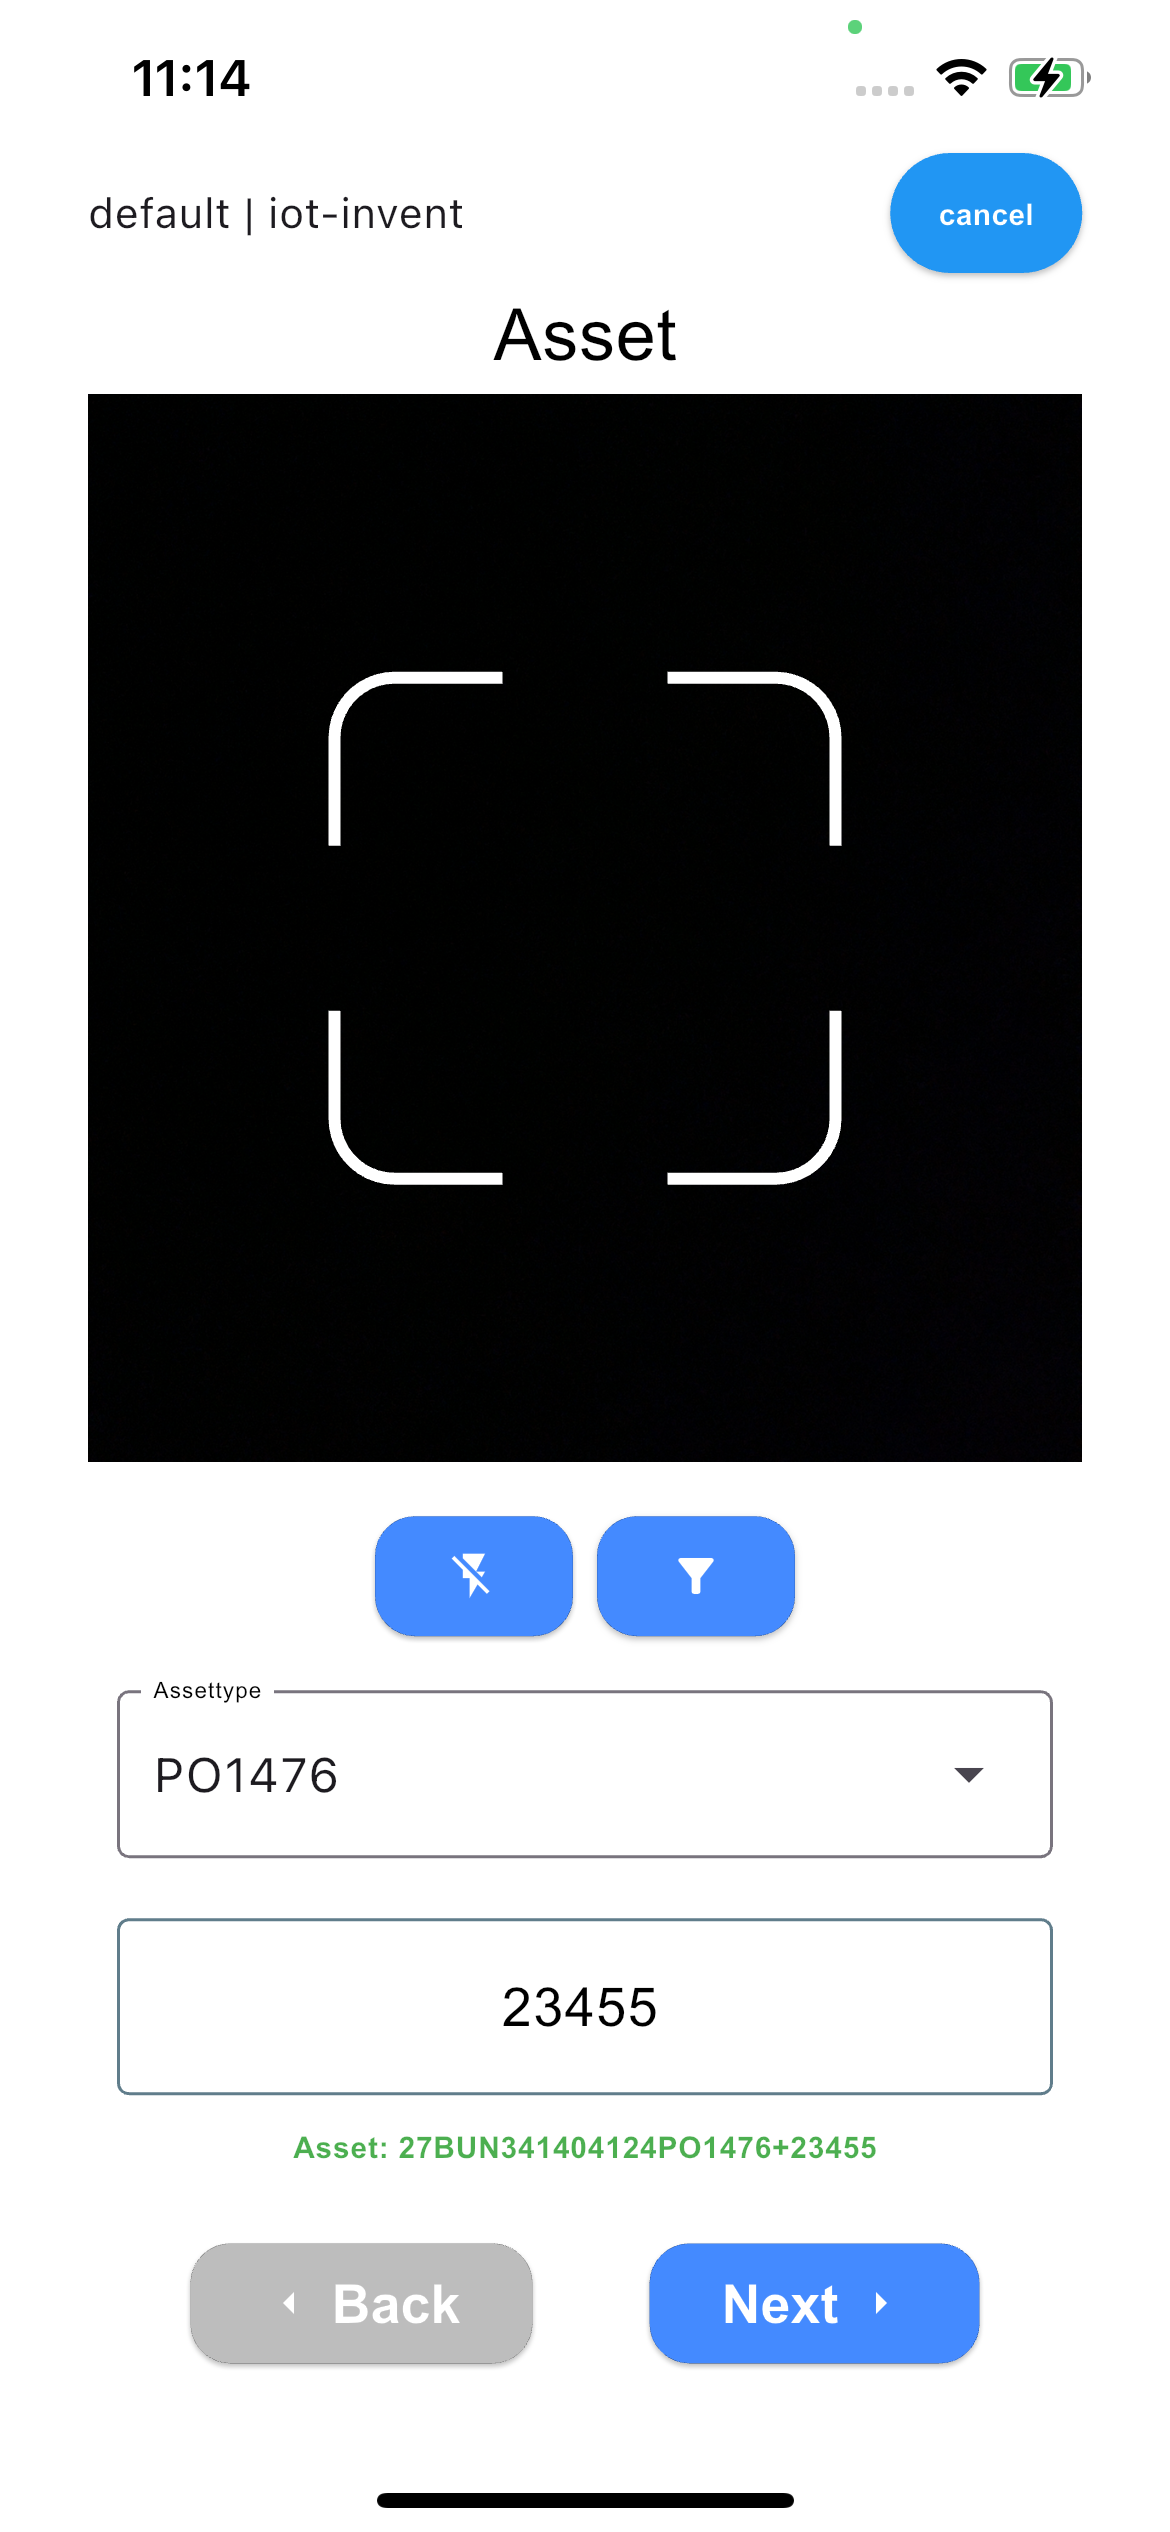
  4. The user can scan a QR code or enter the data manually.
    Diagramm

    If the type is known, the application will show additional information’s.

  5. Press Next to continue with the tag.

    When pressing the button, the application will send a request to the server to check if the asset has already an assignment.

    Diagramm

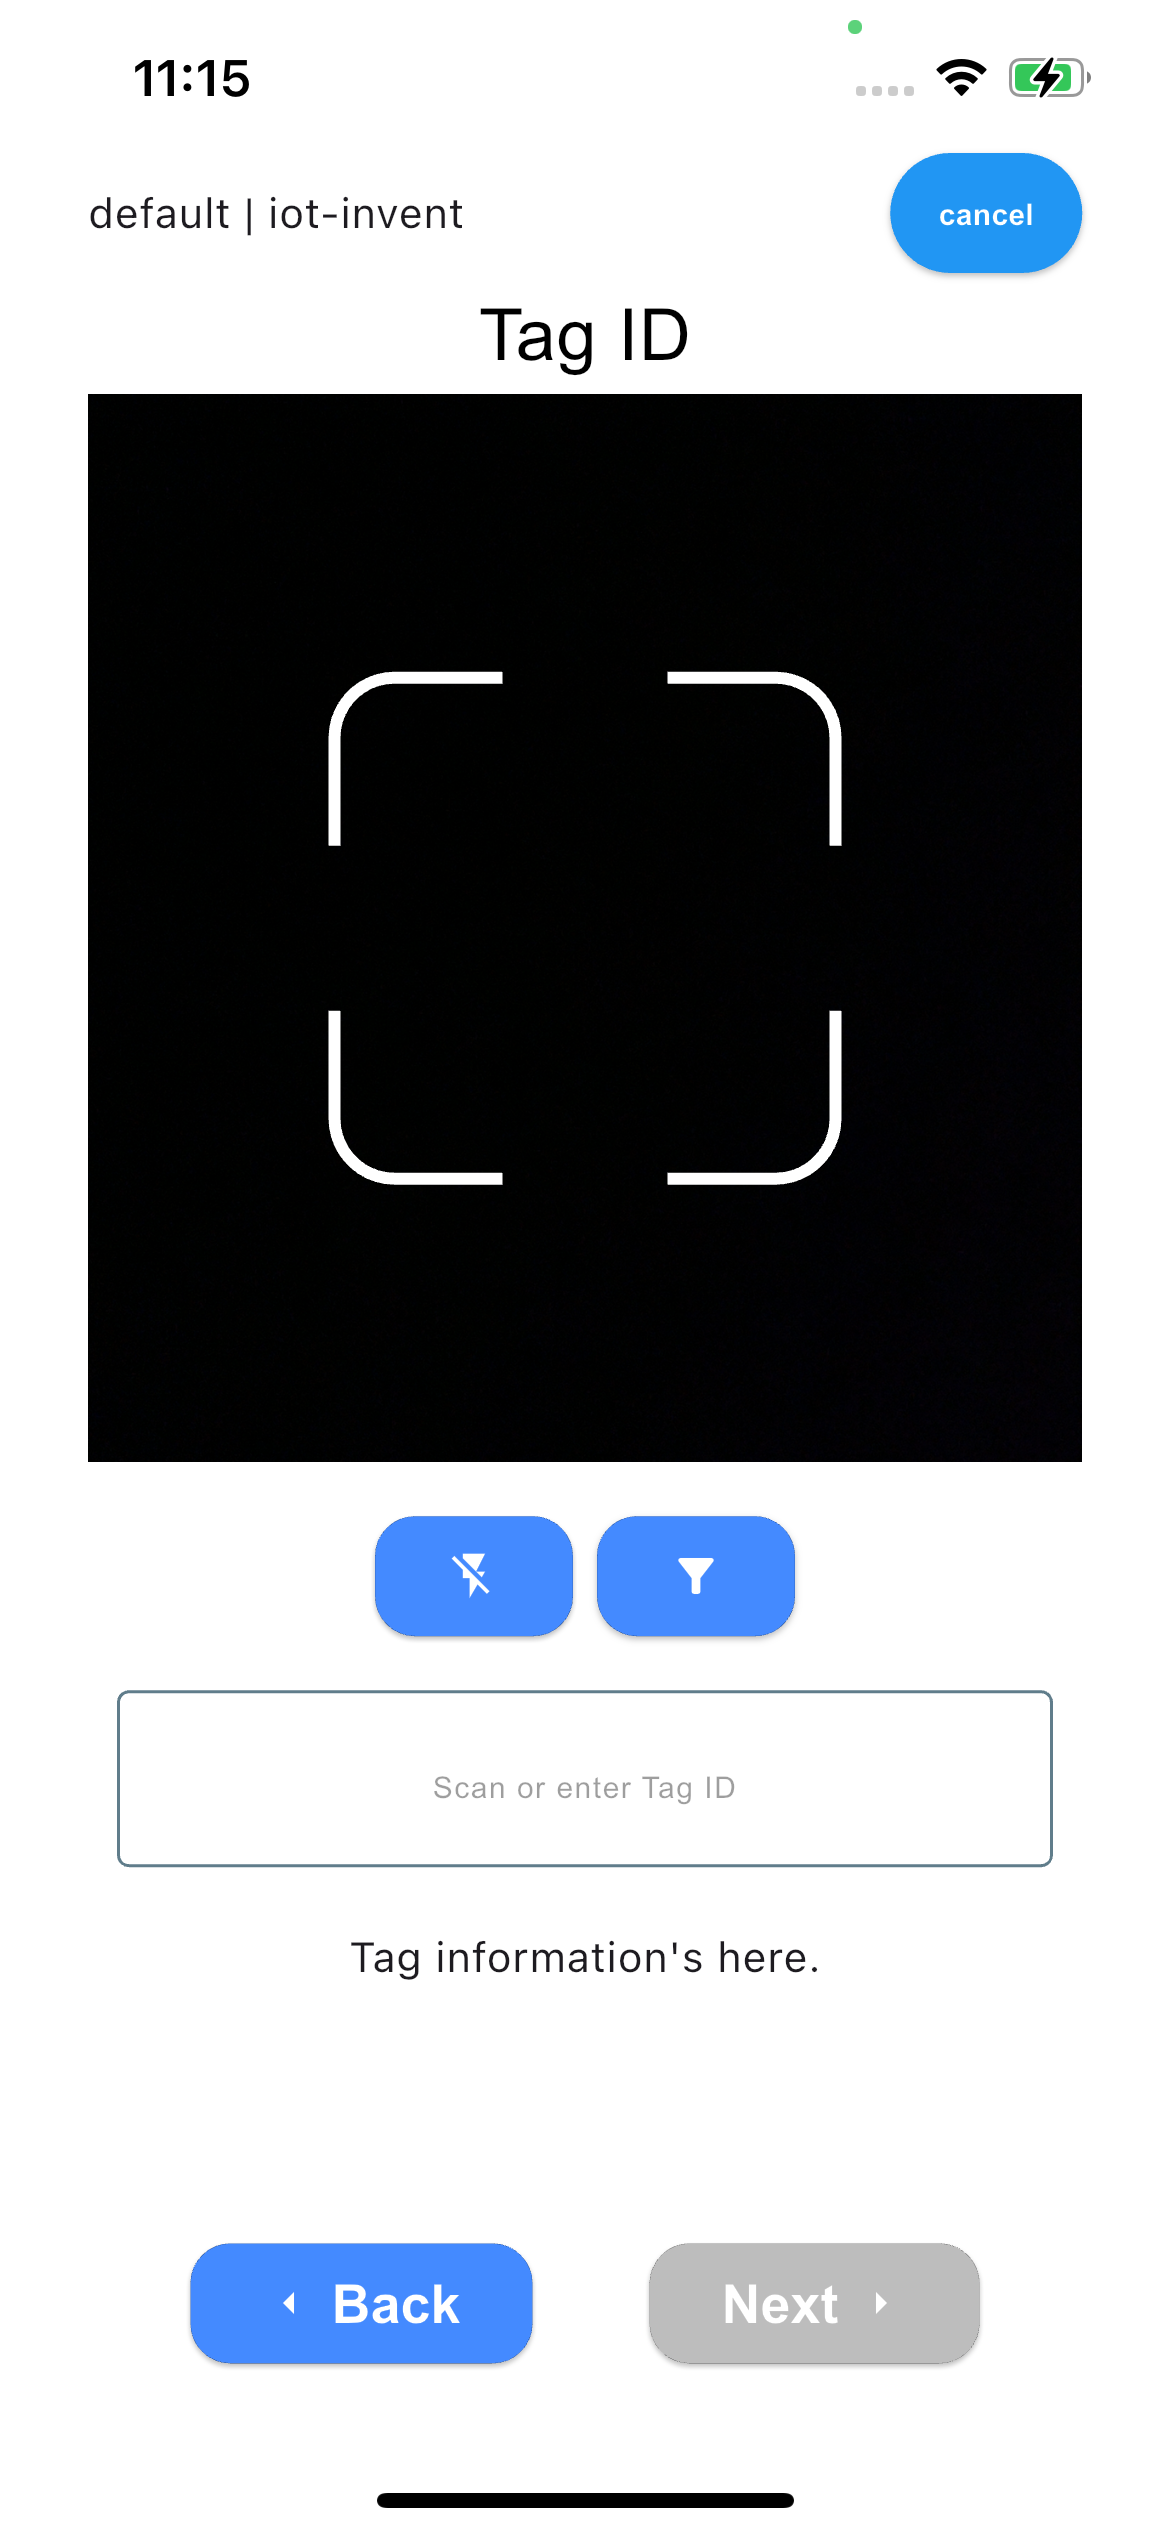
  6. After scanning a QR code or manual input, the user has to press Next to continue.
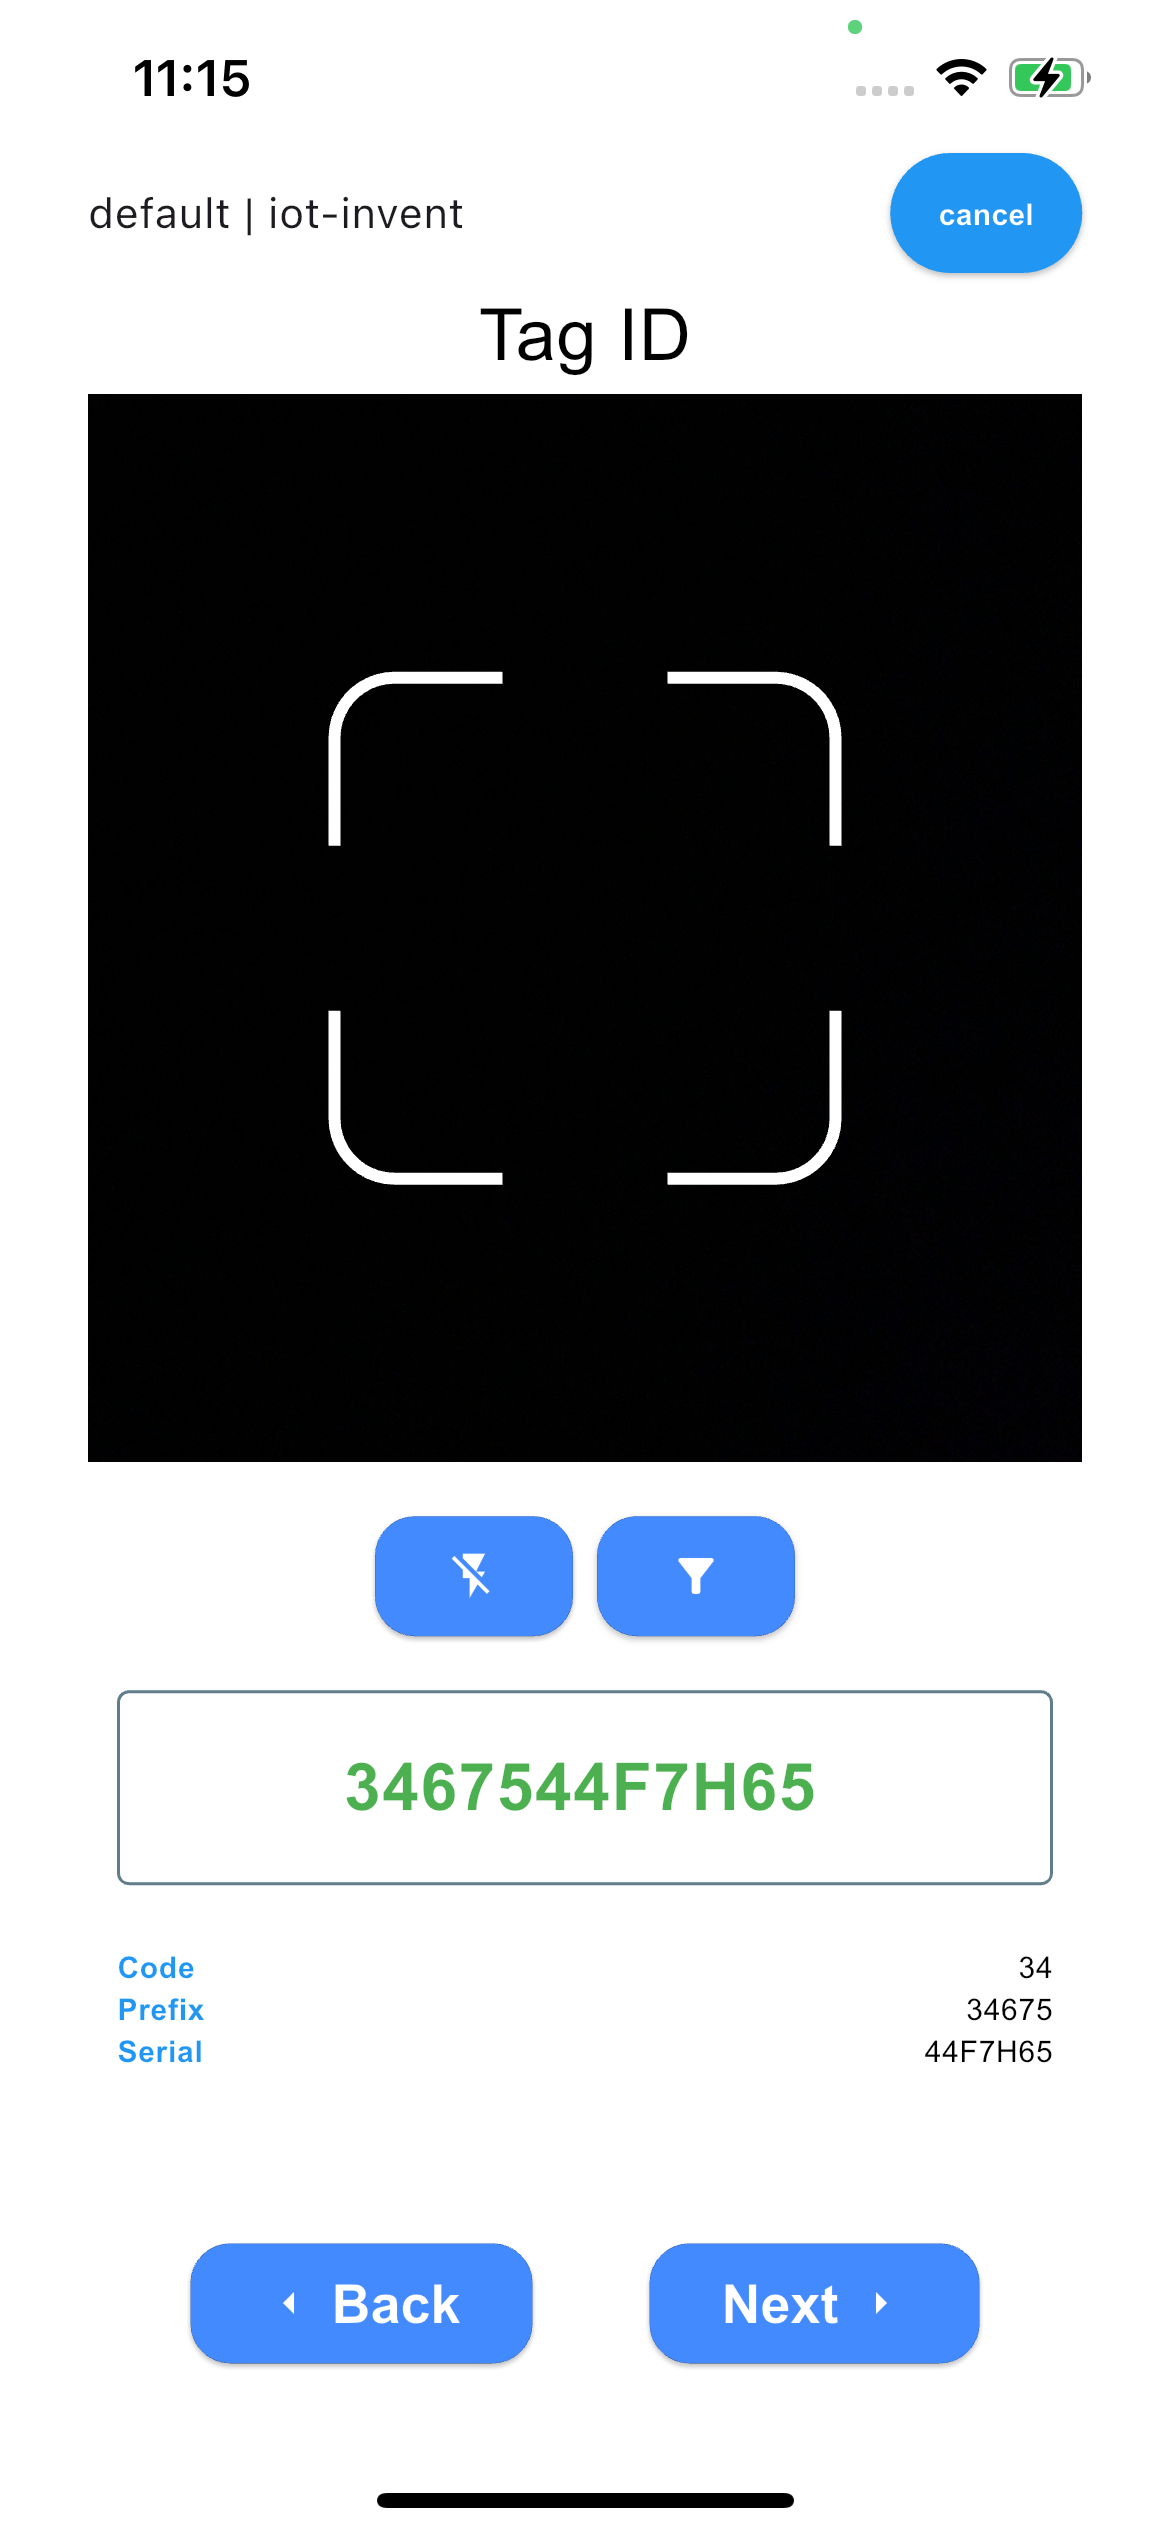
    Diagramm

    If the type is known, the application will show additional information’s.

  7. The last screen will execute the assignment on the server and the configuration on the tag.
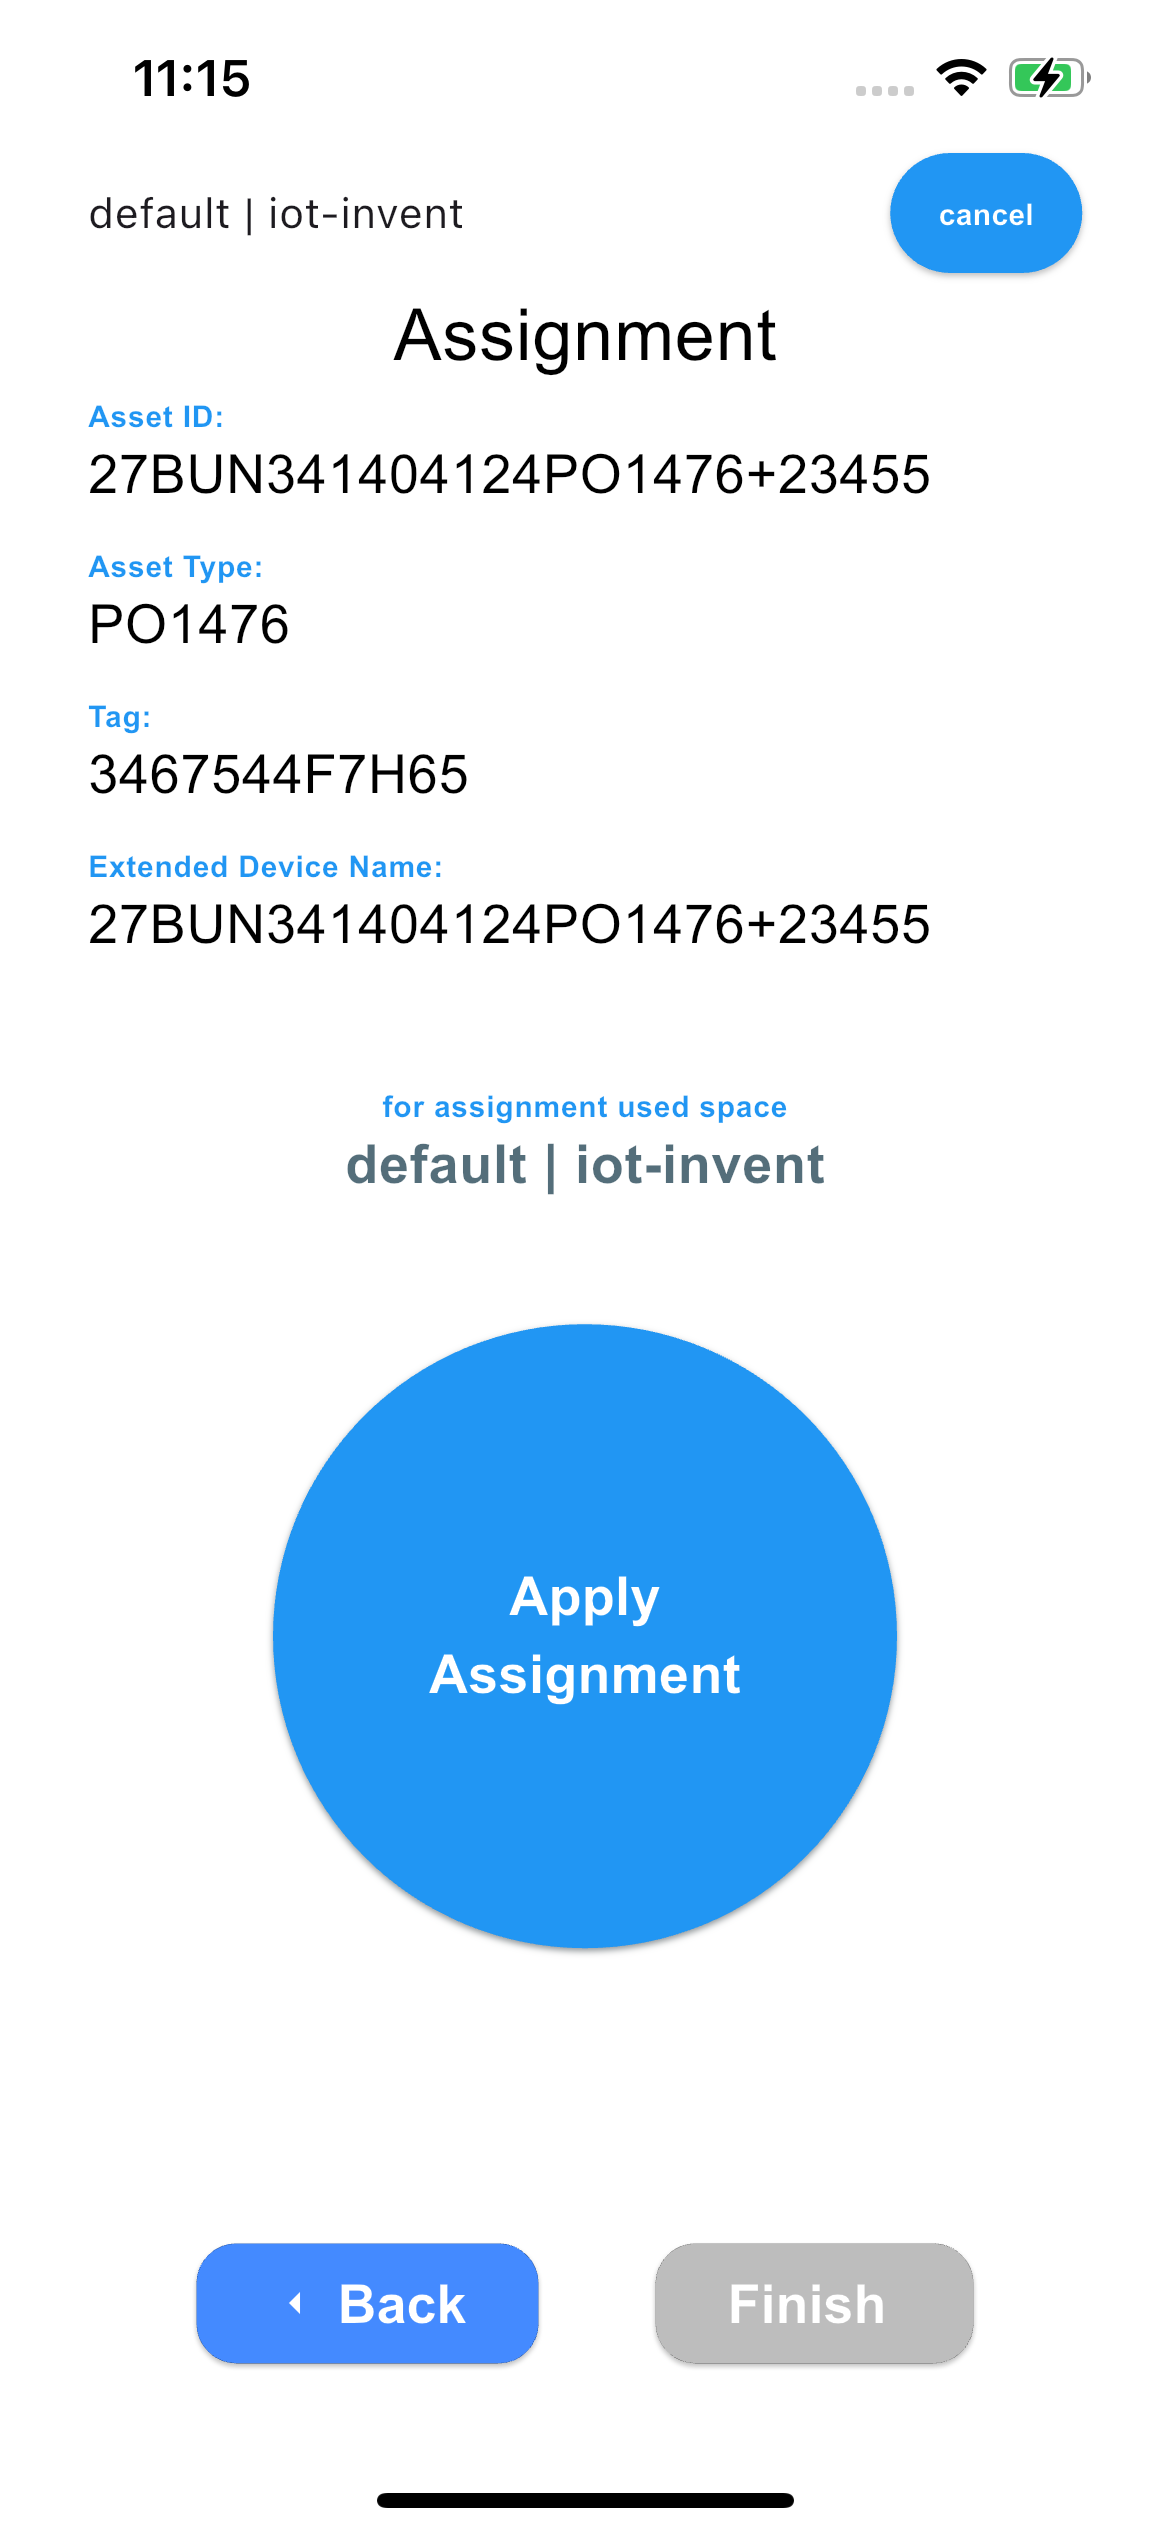
    Diagramm

    Step Task

    1

    BLE Connection will be established

    2

    Send the Assignment to the Server and wait for the positive response

    3

    Change the Advanced Device Name to the Extended Device Name

    4

    Check new values on Tag

    5

    Close Connection and open Successful Dialog
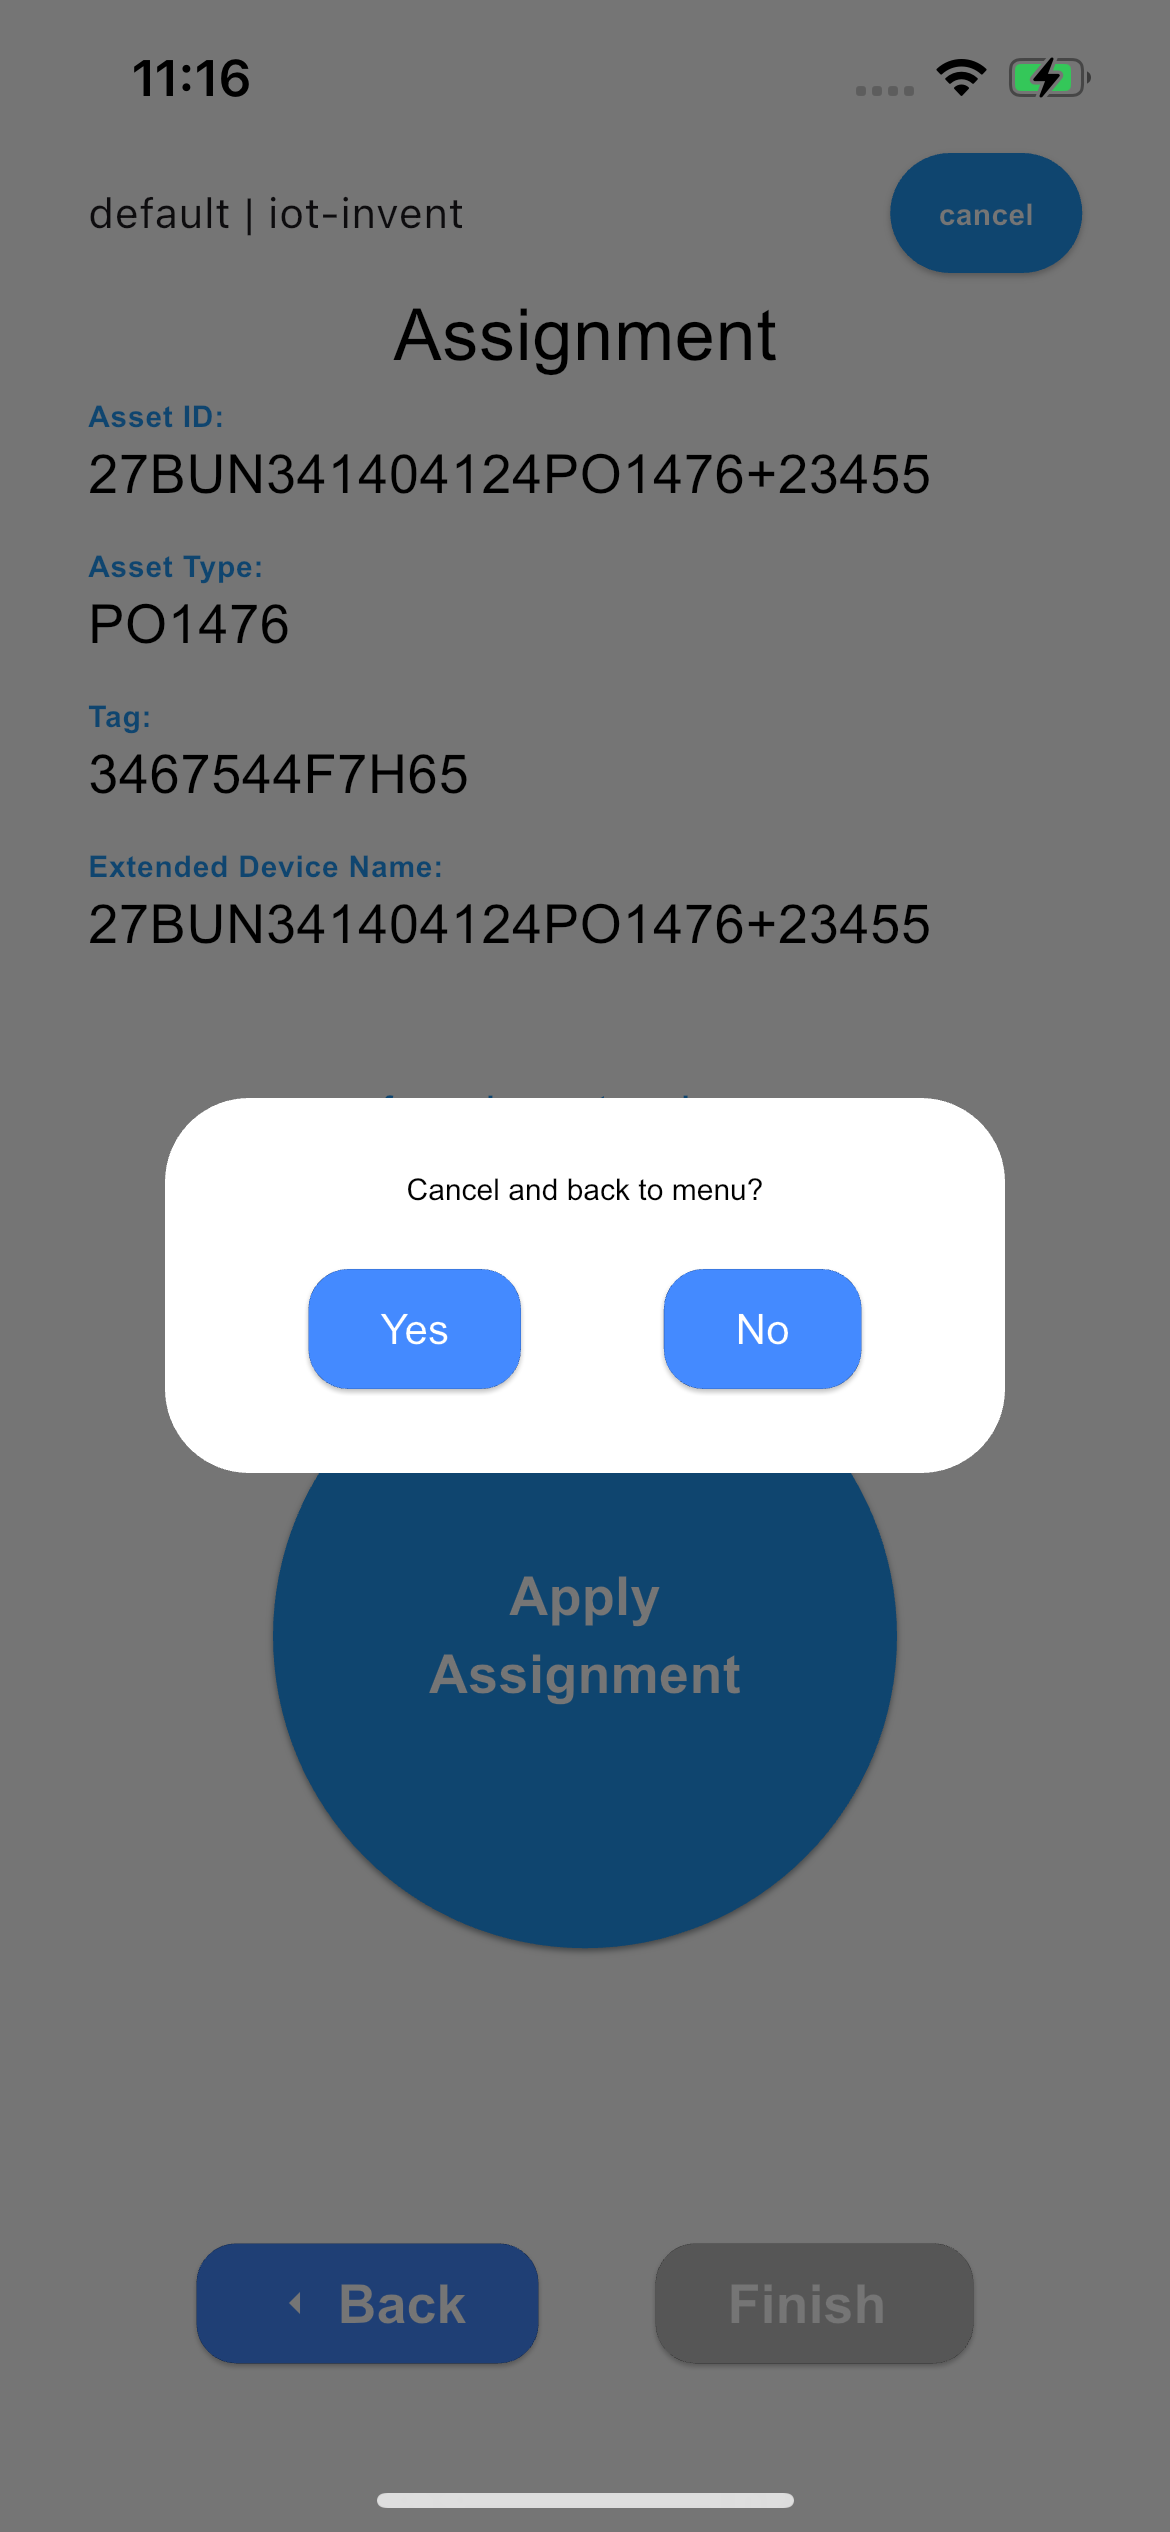
    Optional: The user can stop the assignment by pressing the Cancel button in the top right corner

    Diagramm